Author: Diana Alfuth, Extension Pierce County
Last Revised: 04/17/2019
X-number: XHT1268
Producing high quality apples in home gardens can be challenging due to damage caused by insects (e.g., apple maggot, codling moth, plum curculio, stinkbugs) and fungal diseases (e.g., apple scab, cedar-apple rust, flyspeck, sooty blotch). Many insects damage apples when they lay their eggs in developing fruit. Insect larvae can cause additional damage as they tunnel into the fruit. Wind-borne fungal spores can land on fruit leading to infections that damage fruit, reduce fruit aesthetics or affect long-term storage.
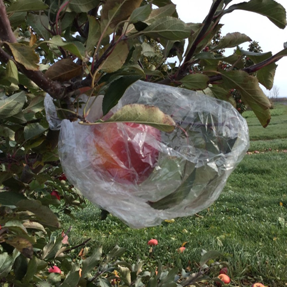
Although insecticide and fungicide sprays can help control insect pests and diseases, regular spraying can be inconvenient and costly for homeowners. A non-pesticide alternative for protecting fruit is to encase apples in bags that provide protective barriers against insects and fungal pathogens.
What do I need to bag my apples? First, you will need some sort of bagging material. This could be a household plastic or paper bag, or a commercially-produced bag designed specifically for apple bagging. Perhaps the most convenient choice is a common plastic sandwich or quart-size zip-type bag. Zip-type bags are effective, weather proof, economical, and readily available. You will also need something (e.g., a twist tie, tape, string, staples) to secure the bags to your apples and a pair of scissors to cut a drainage hole in each bag.
When do I bag my apples? Start bagging when fruits are approximately ½ to 3/4 inch in diameter. Apples typically reach this size approximately two weeks after petal fall. Thin each cluster of apples to a single fruit, keeping the largest, best-shaped fruit in the cluster. Make sure that the apples you select have not already been damaged. In particular, plum curculio can damage fruit and codling moth can lay eggs before fruit are large enough to bag. You may want to consider using an insecticide spray between petal fall and bagging to prevent this early damage.
How do I bag my apples? Place an apple in the bag of your choice with the top of the bag around the stem. Carefully secure the bag with a twist tie, tape, string or staple without damaging the stem. If using a zip-type bag, place the stem in the middle and close the seal to within one inch of the stem on each side. Staple the bag on each side of the stem to ensure that the bag will remain secure all summer.
Use scissors to cut approximately one-half inch from one of the bottom corners of the bag. This will allow condensation that may form inside the bag to drain.
Leave plastic bags on all summer. Paper bags may deteriorate and need replacement if there is excessive rain during the growing season. In addition, paper bags should be removed a few weeks prior to harvest to allow proper fruit color to develop.
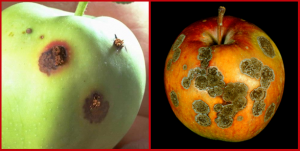
What should my apples look like after they have been bagged? Because bags prevent insects and fungal spores from reaching fruit, most of your bagged apples should be in near perfect condition. Fruit that you do not bag will likely be blemished from insects and disease. Blemished fruits should be removed (whether they fall to the ground or remain attached to your tree) and destroyed by burning (where allowed), deep burying or hot composting. Diseased leaves from your apple tree should be treated similarly once they fall from the tree in the autumn. Properly disposing of blemished fruits and diseased leaves will help limit overwintering of insect pests and disease-causing organisms, thus reducing insect and disease problems the following growing season.
For more information on bagging apples for insect and disease control: Contact your County Extension Educator.




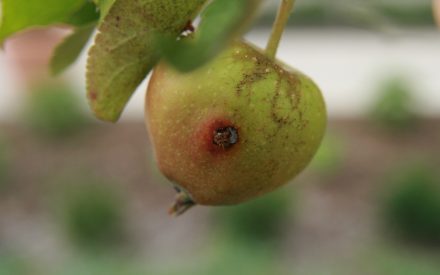 Apple Pest Management for Home Gardeners
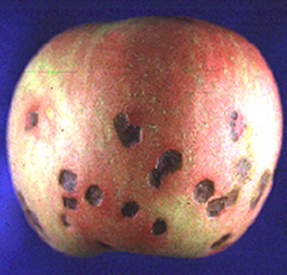 Bitter Pit and Cork Spot
 Apple Disorder: Sooty Blotch and Flyspeck
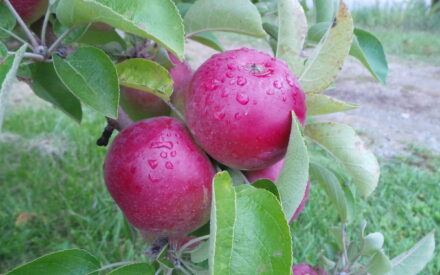 Growing Apples in Wisconsin